How to Use a Bobcat Loader for DIY Concrete Projects
Published: December 27, 2024
Table of Contents 

Using a Bobcat Loader to Get the Best DIY Concrete Results
If you’re new to building a driveway, walkway, or patio (or even if you have years of experience doing it), the equipment you choose can make or break a DIY concrete project. The wrong tool could leave you with a mess, a headache, and unnecessary expenses, bringing you right back to square one. That’s why we’ve provided a step-by-step guide for using a Bobcat® compact track loader rental on your next concrete DIY.
Breaking Existing Concrete
This is one of the most common jobs you’re going to run into as a concrete pro. If you’re working on a DIY concrete driveway, expanding a garden, fixing sunken concrete slabs, or starting a heavier demolition task, you’re eventually going to need a breaker attachment rental. You’ll get impressive force and control from this attachment.
If you’re new to Bobcat compact track loaders or to DIY concrete projects, here’s a quick tutorial on how to use a Bobcat breaker attachment. Interested in the equipment you see here? Get more information on pairing a Bobcat T770 with an HB980 hydraulic breaker.
Loading Broken Concrete
Once you’ve broken up the existing concrete, heavy slabs and broken pieces will start to pile up. That’s where a loader rental comes in. A skid-steer loader can clear space for your DIY concrete driveway, walkway, or patio by moving excess materials quickly and efficiently. For loading broken concrete into your truck or trailer, we suggest pairing the Bobcat loader with a grapple attachment.

Grading and Leveling
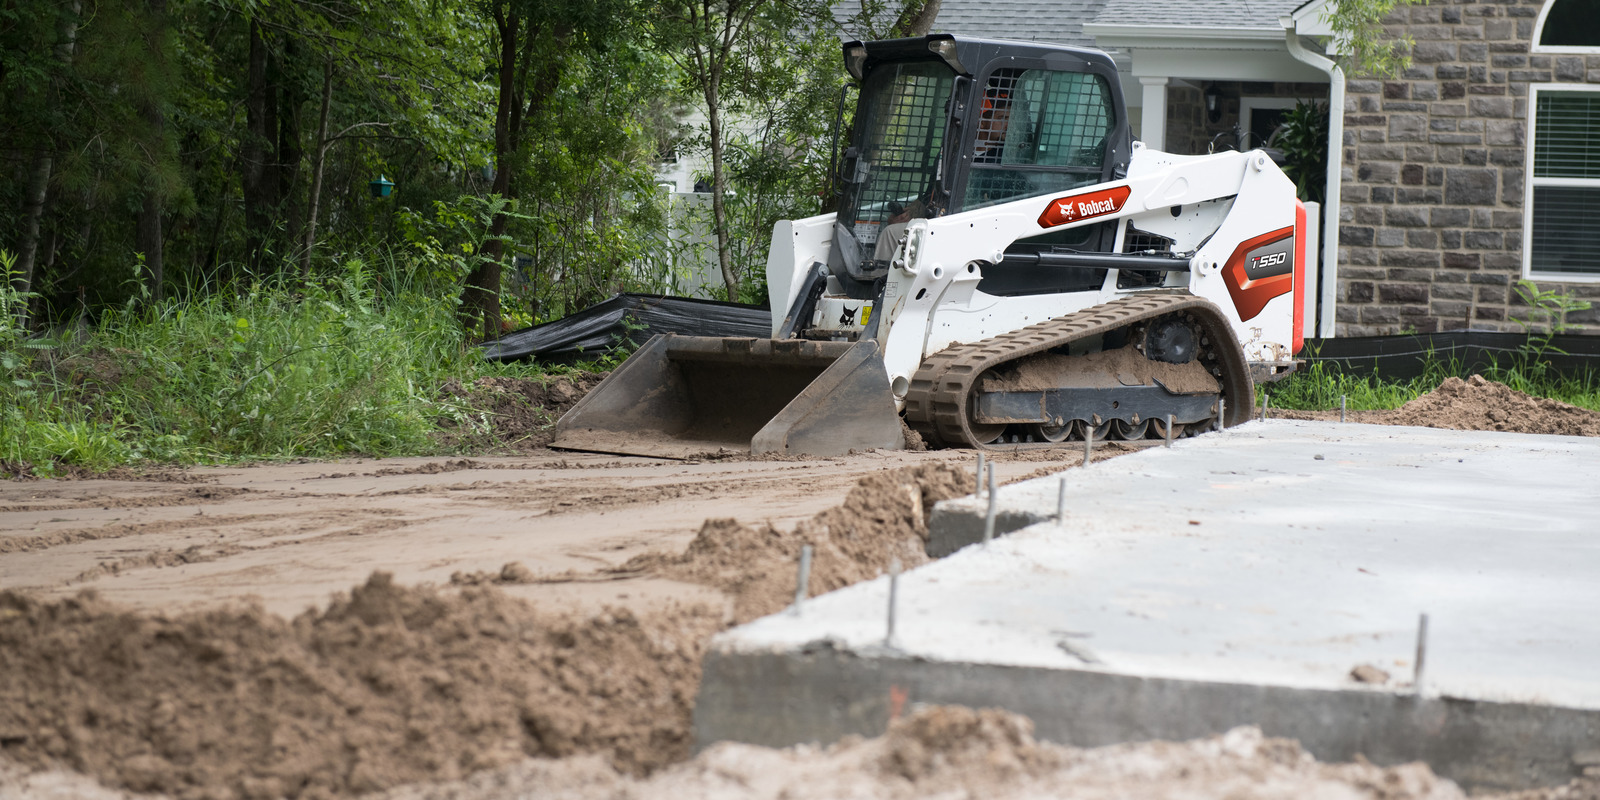
With a bucket attachment, you can quickly and easily level out the dirt before pouring concrete. If you’re new to Bobcat compact equipment, this process is called float position. Here’s how it works:
- Tilt the bucket to your desired angle for back grading
- Press the float button
- Lower the bucket and lift arms all the way down
The bucket’s weight and flat edge will fill in low spots and lower high areas for you.
Pro Tip: For the best results, operate the compact track loader in reverse while in float position.

Backfilling
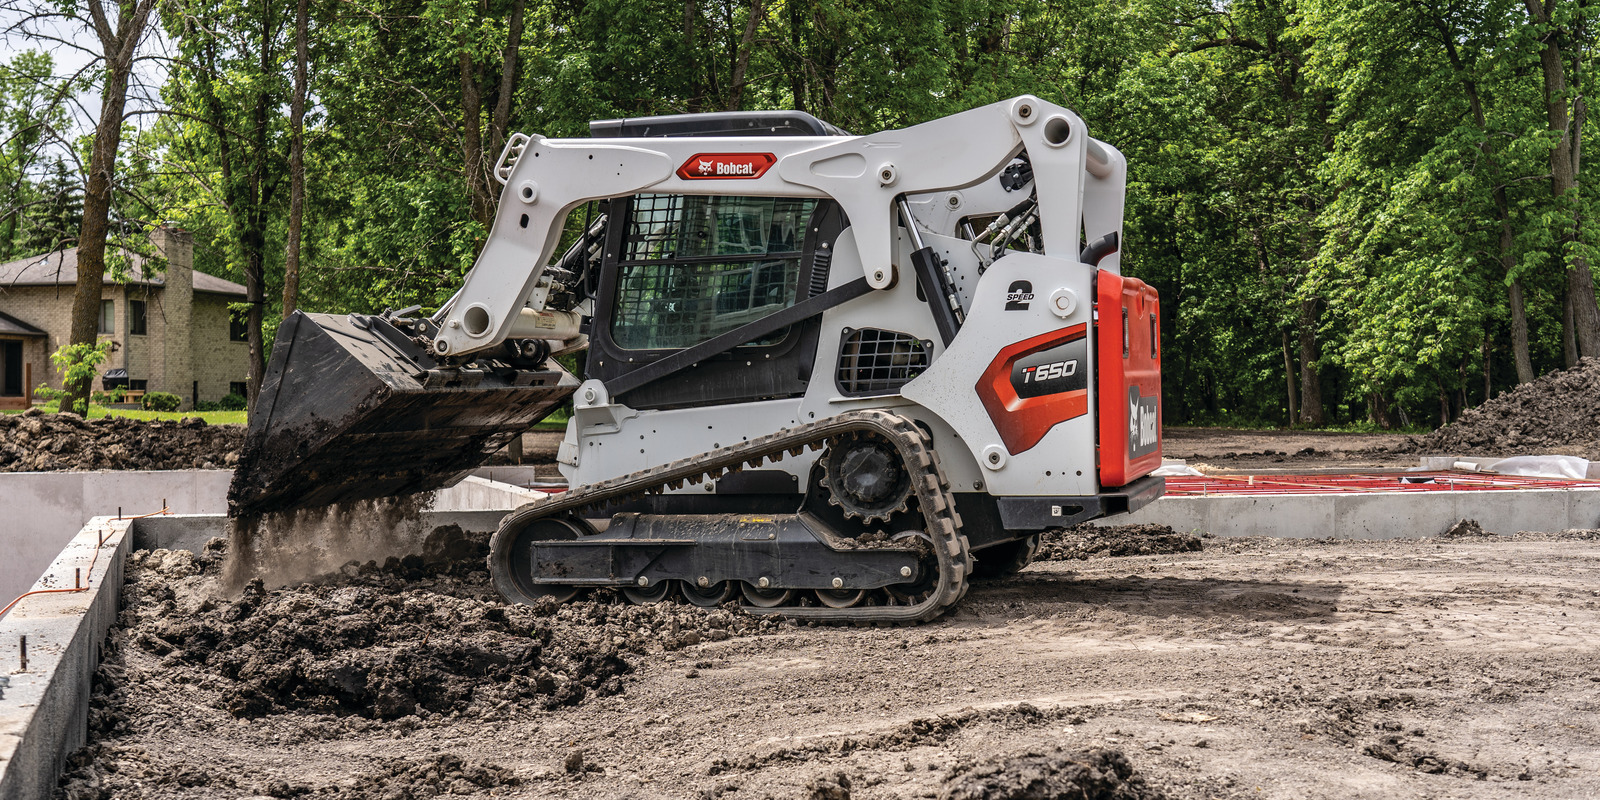
After grading and leveling, you’ll pour the concrete. For vertical forms like walls or pools, we suggest waiting 24 to 48 hours before removing the forms. Keep in mind that the type of concrete you’re using and the weather conditions in your area will affect curing time. Once you’re ready, it’s time to backfill. This step is important. If you do it right, you’ll get a smooth, finished look, and no one will know that you did it yourself. This process goes faster with a Bobcat loader (and you’ll see good quality results).
Here’s a quick rundown:
- Use the bucket attachment
- Scoop up materials like dirt or rock
- Spread them evenly in the desired spot
Make Concrete Look Easy
You’ve got the skills for DIY concrete projects. With a loader rental and a couple of concrete attachments, you should have everything you need to finish the job. Good luck with your DIY concrete! If you have questions about your equipment, don’t hesitate to call our Rental department. We’re here, and we want to help you get the job done.


 Promotions
 Payments
 Call Us
 Contact Us


