Compact Tractor Maintenance Made Simple With These 5 Tips
Published: December 27, 2024
Table of Contents 

When you bring home a compact tractor, you want your new farmhand to withstand the tests of time, weather and hard work. Regular service is the best way to keep it performing like the day you bought it. These easy tips will help you keep your Bobcat® compact tractor running for years to come.

Tip #1: Get familiar with your Bobcat Operation and Maintenance Manual.
Before operating your compact tractor, read through the Bobcat Operation and Maintenance Manual. Inside, you can find valuable information on tractor operation, preventive maintenance, 3-point hitch and front-end loader, safety information and more.

Tip #2: Don’t skip the daily checks.
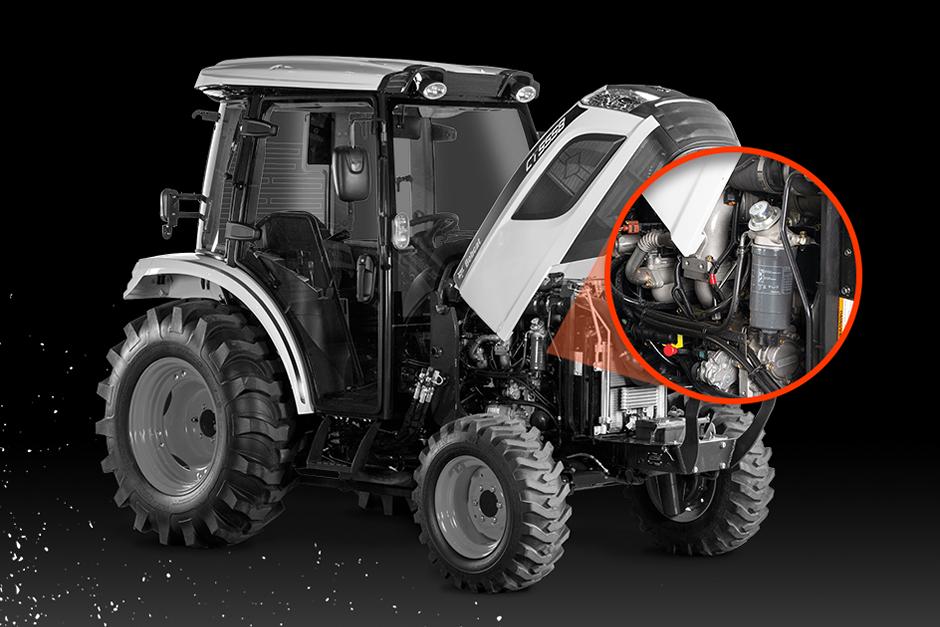
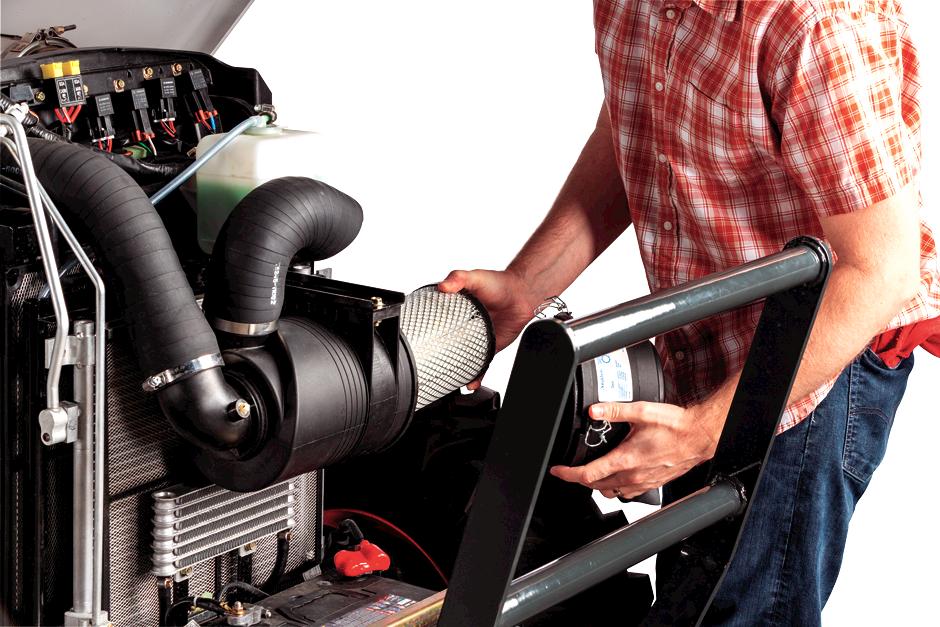
It’s important to check a few key areas of your compact tractor before each use. This will help keep your tractor running for years to come and reduce the chance of larger service needs. Bobcat compact tractors come with a simple, one-piece hood design that makes it easy for you to access your engine, battery and fluids. You simply lift the hood for a perfect view of all your internal components – no clunky side panels in sight. You can access all the fluids and filters in a single location with the one-sided maintenance feature on most Bobcat compact tractors.
Remember to check each of the following items daily:
- Hydraulic fluid, coolant and oil levels – Check the transmission dipstick located above the rear PTO shaft. Always keep the fluid level between the starting mark and the end of the dipstick.
- Tire pressure and tire condition – Check tire pressures and tire condition before each use. See your Operation Manual for the correct specifications for your compact tractor.
- Engine cooling system – Make sure to check the coolant level when the engine is cold and add premixed coolant as needed. The coolant level must be between the low and the full level marks on the tank. Clear debris from the radiator and screens as needed.
- Engine air intake system – Check for any damage to the hoses and tighten the clamps if they appear loose.
- PTO – Check shaft splines and replace any damaged or missing guards and shields. See your Operation Manual for additional details.
- 3-point hitch linkages – Check operation and the condition of the pins, links and sway bars.
- Parking brake – Check before operation and adjust as needed.
- Seat belt – Check the condition of seat belt and mounting hardware. Clean or replace seat belt retractors as needed. Clean dirt and debris from moving parts.
- Horn – Give the horn a few honks to check for proper operation.
- Safety interlock system – Check for proper function. See your Operation Manual for additional details on this process.
- Indicators and lights – Flash your lights and indicators to check for correct operation.
- Safety signs – Check and replace any damaged signs or decals on the compact tractor.
- Loader and Bob-Tach® mounting system – Check for damaged or loose parts and inspect the mounting hardware for torque. Repair or replace as necessary.
- Front differential – The dipstick is located on the left side of the front axle. Check the fluid level and add more if it looks low.
Tip #3: Use high-quality compact tractor parts.
If you’re working on your property from sunup to sundown, your compact tractor likely is, too. The last thing you need are costly and time-consuming service headaches slowing you down. Prevent unnecessary wear and tear by using genuine Bobcat parts. These parts are tested and proven by Bobcat to be the best options to keep your machine running smoothly – even when the chores get tough.
Tip #4: Inspect your compact tractor attachments and implements.
If you’re using compact tractor attachments or implements, make sure to visually inspect hydraulic hoses, cylinders and guards for signs of wear or damage before each use. This will keep your compact tractor running smoothly and safely through whatever your land throws at you.
Tip #5: Stick to a regular compact tractor service schedule.
If your land demands daily attention, make sure your compact tractor is up for the challenge. Keep and follow a schedule for regular maintenance and timely tractor repair – it’ll help you prevent avoidable, prolonged time in the shop. Your Bobcat Operation and Maintenance Manual offers a detailed breakdown of what to service and when in the Preventive Maintenance section.


 Promotions
 Payments
 Call Us
 Contact Us


